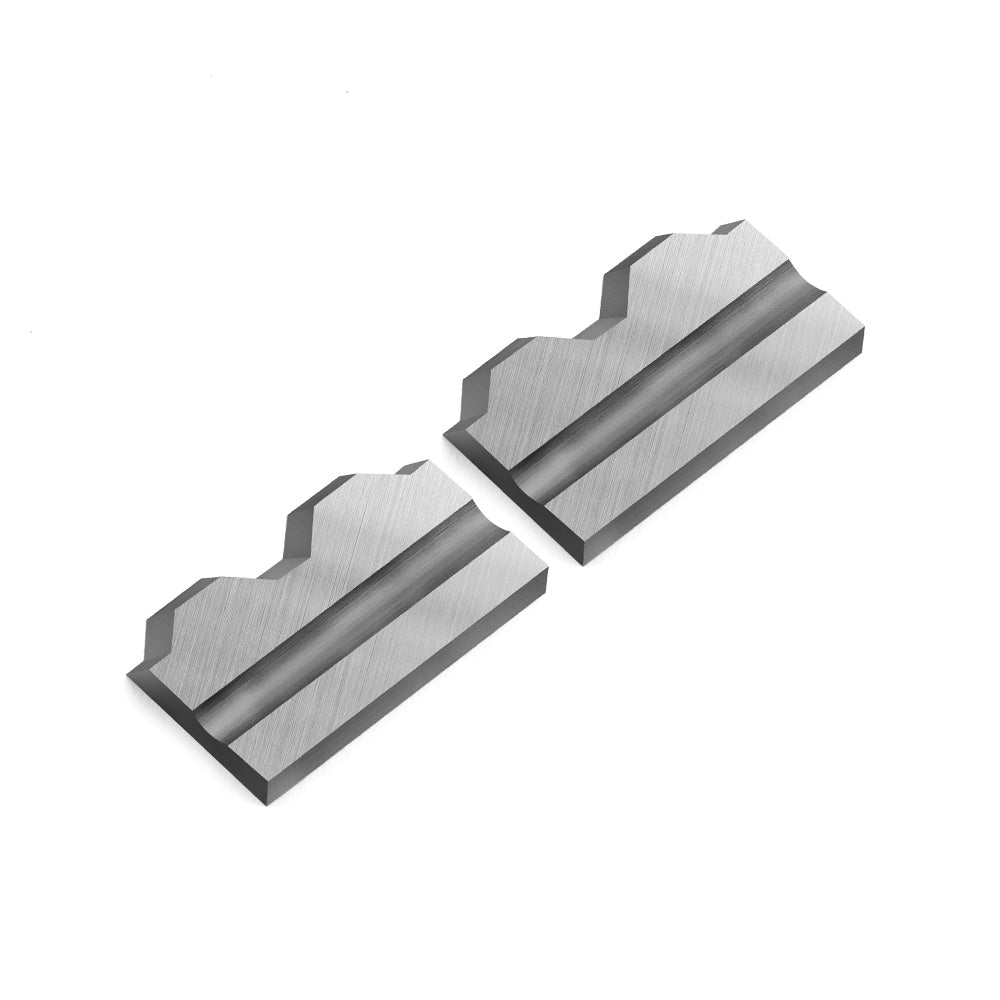
How To Sharpen Molding Knives
Sharpening molding knives is an essential skill for woodworkers and carpenters who work with molding profiles. Properly sharpened knives ensure clean cuts and precise molding shapes. In this guide, I will explain a step-by-step process to sharpen your molding knives effectively.
1. Gather the necessary tools: To sharpen molding knives, you will need the following tools:
A sharpening stone or honing guide: Choose a stone with a fine grit (around 1000-2000) for best results. Alternatively, a honing guide can be used to maintain consistent angles during sharpening.
Safety equipment: Wear safety goggles and gloves to protect yourself from any accidents.
2. Remove the knives: Start by removing the molding knives from the cutterhead or planer. Consult the manufacturer's manual or follow the appropriate procedure for your specific tool.
3. Clean the knives: Before sharpening, clean the knives to remove any dirt, resin, or debris. You can use a soft cloth or brush dipped in a mild solvent or soapy water. Dry the knives thoroughly before proceeding.
4. Inspect the condition: Examine the knives for any signs of damage or nicks. If you notice any significant damage or deep nicks, it may be necessary to replace the knives instead of sharpening them.
5. Set the bevel angle: The bevel angle is the angle at which the edge of the knife is sharpened. Refer to the manufacturer's specifications or consult the knife's documentation to determine the correct bevel angle for your molding knives. This angle is typically between 20 to 25 degrees.
6. Secure the knife: If you have a honing guide, follow its instructions to secure the knife in the guide. If you are using a sharpening stone, hold the knife firmly by the handle and position it on the stone at the desired bevel angle.
7. Begin sharpening: Start the sharpening process by moving the knife back and forth across the stone or along the honing guide. Apply light pressure and maintain a consistent angle throughout the process. Use even strokes and cover the entire length of the knife's edge.
8. Check for progress: Regularly inspect the edge of the knife during sharpening. Look for a consistent and even bevel across the entire length of the blade. If you notice any areas that are not sharpening evenly, adjust your technique accordingly.
9. Repeat the process: Continue sharpening until you achieve a sharp and polished edge on the knife. This may take several passes or more, depending on the initial condition of the blade.
10 Hone the knife: Once you have sharpened the edge of the knife, use a finer grit stone or strop to hone the edge further. This step helps remove any burrs or imperfections left from the sharpening process and improves the overall sharpness of the blade.
11. Test the sharpness: After honing, carefully inspect the knife for sharpness. You can perform a test cut on a scrap piece of wood to ensure the knife is cutting cleanly and smoothly.
12. Reinstall the knives: Once you are satisfied with the sharpness of the molding knives, carefully reinstall them back into the cutterhead or planer. Follow the appropriate procedure for your specific tool, ensuring that the knives are securely tightened.
Remember to always prioritize safety when working with sharp tools. Follow proper handling techniques and take necessary precautions to avoid accidents. With practice and patience, you will be able to sharpen your molding knives effectively, ensuring precise and high-quality woodworking results.
